 |
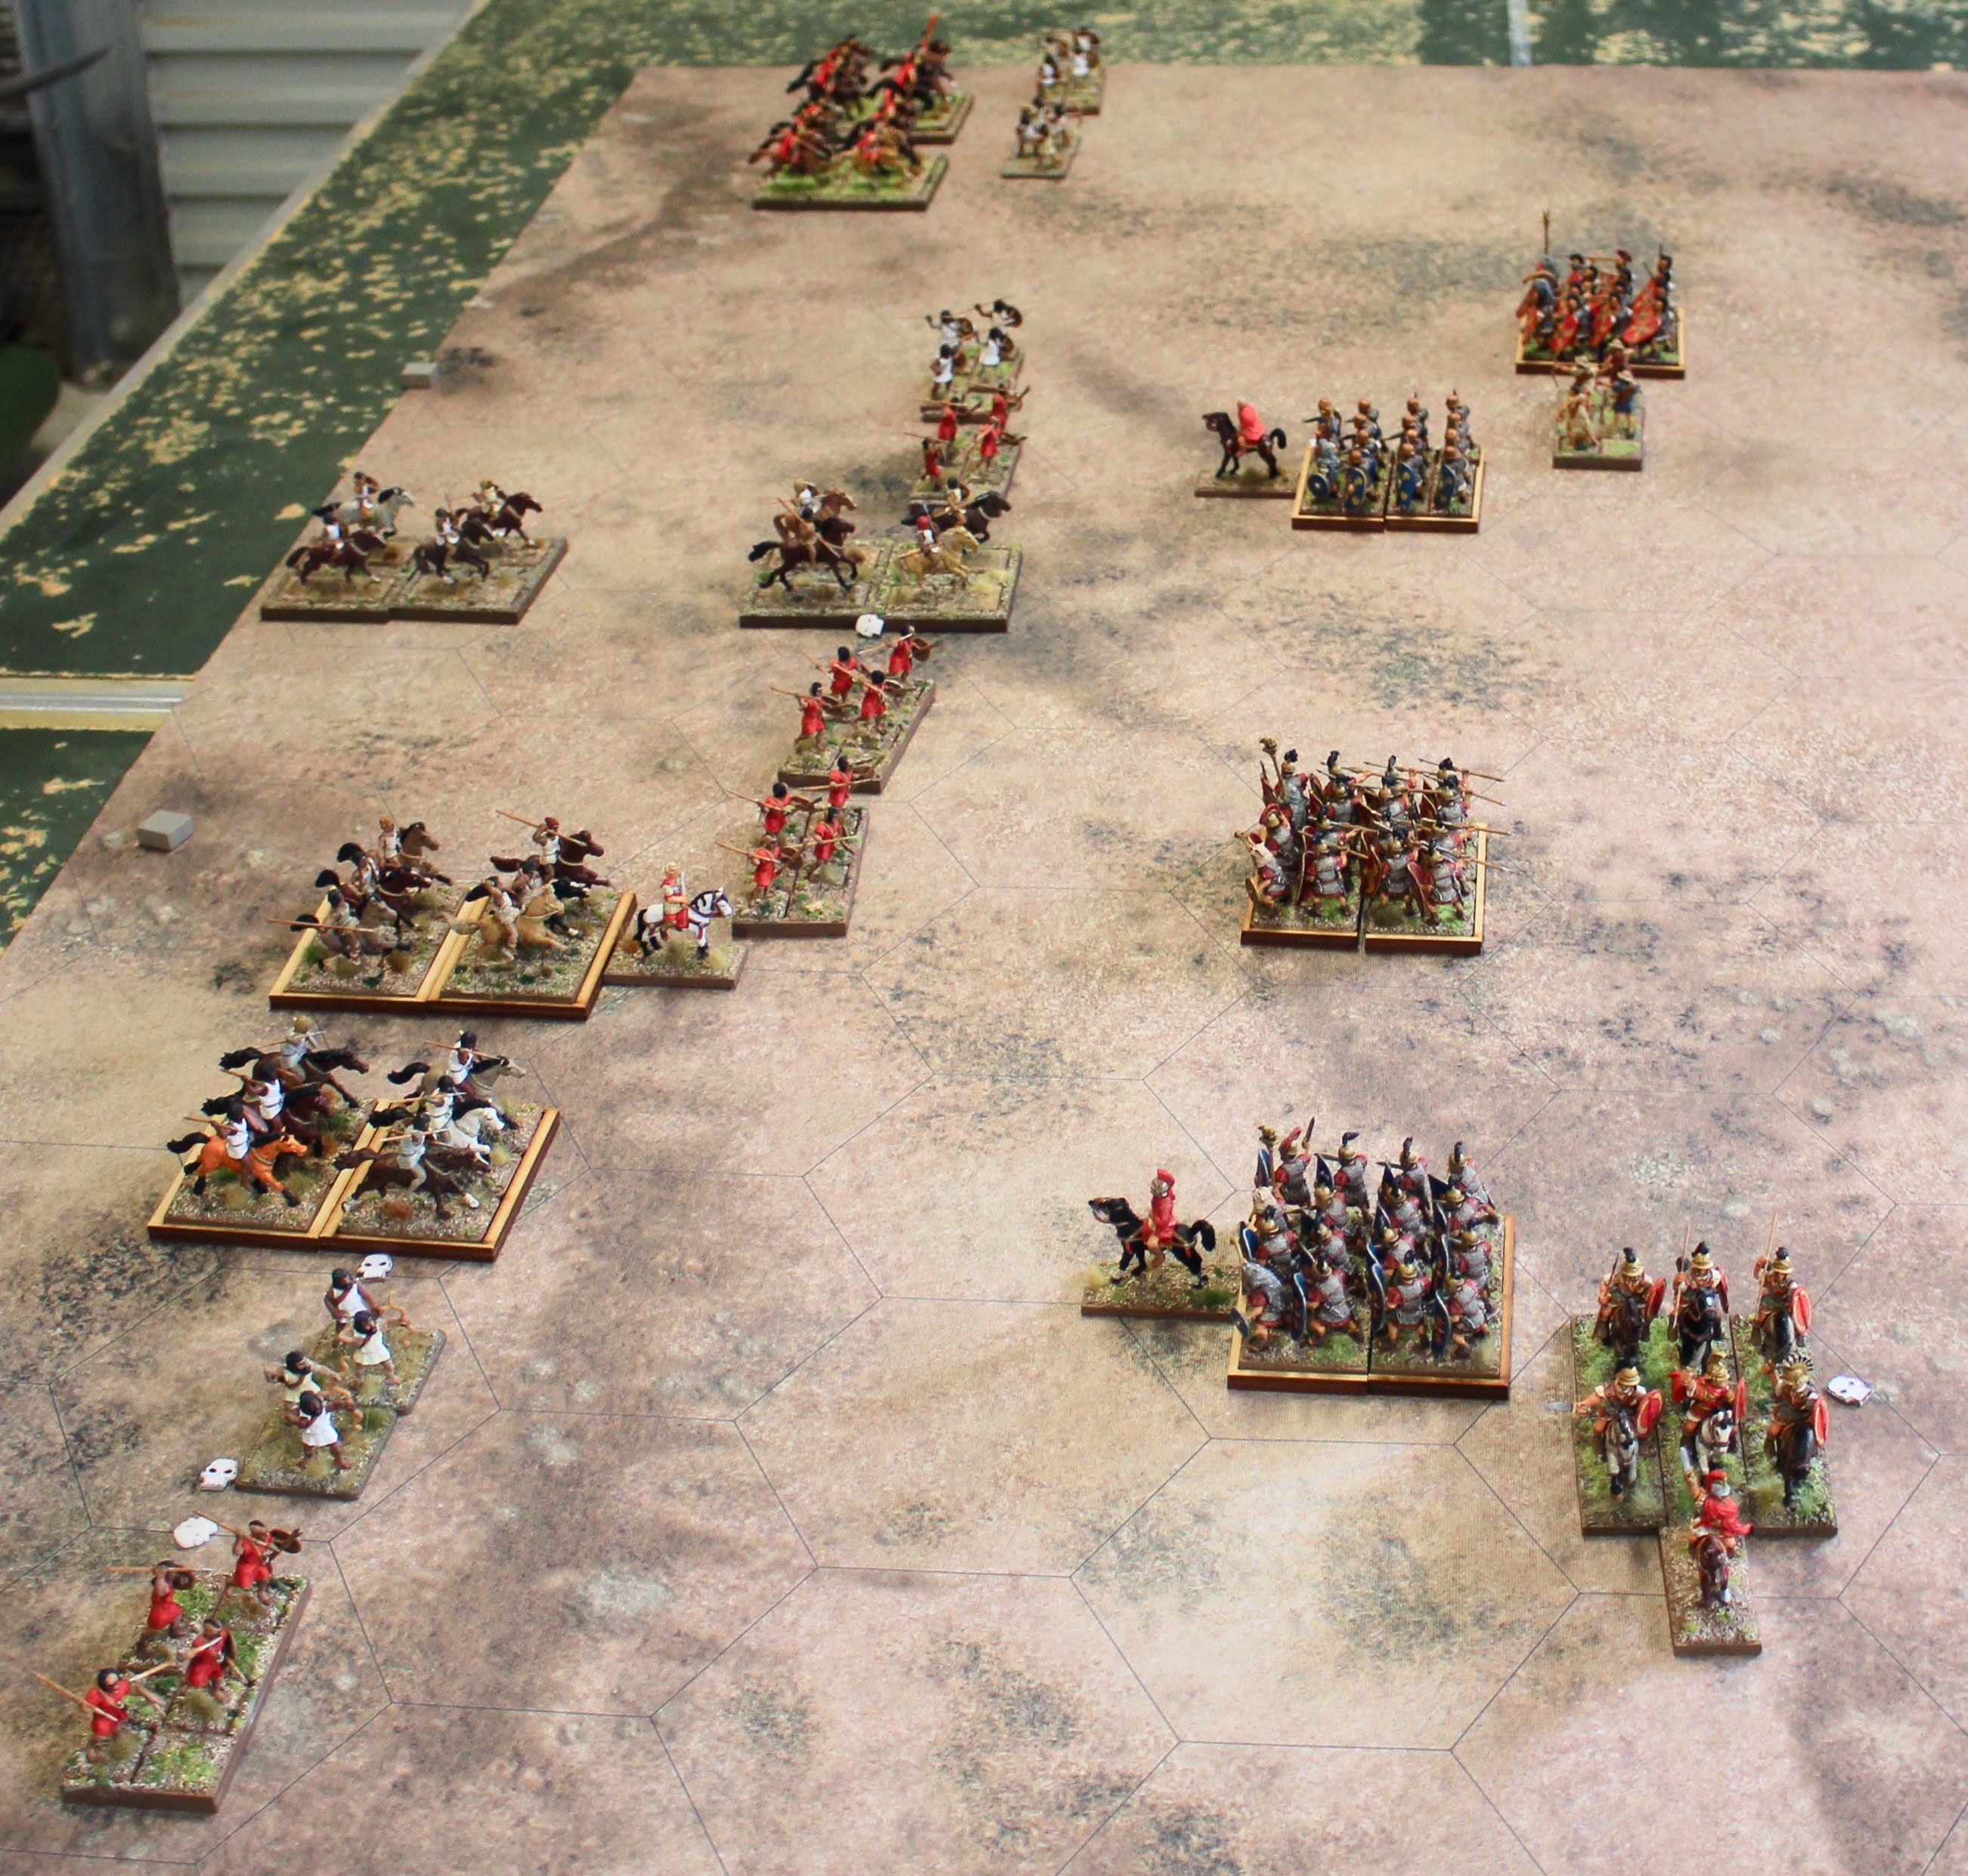
| Initial deployment from the Roman side |
 |
| Initial deployment from the Numidian side |
 |
| Numidian cavalry advance |
 |
| Romans advance in the centre |
 |
| Numidians play a mounted charge card |
 |
| Romans advance on their left |
 |
| Labienus attacks with his cavalry in the centre |
Last Sunday afternoon I played a solo Command and Colors Ancients game out in the shed. The scenario was Ruspina 46 BC with Julius Caesar's foraging party fighting a Numidian army commanded by his former lieutenant Labienus. I used Roman cavalry for Labienus' Gallic and German cavalry and for Caesar's cavalry as I thought they may well have been armed with Roman equipment. I was a bit short of painted Numidian javelinmen so I used Libyan javelinmen instead. Labienus' Numidians have five command cards and move first while Caesar's Romans have six command cards but are heavily outnumbered.
This proved to be quite an absorbing and close game. The unknown author of the African War describes the battle:
Caesar was confronted with a new type of battle tactics. He realized that his men's ranks were thrown into disorder whenever they made a charge: when his infantry ran forward too far from their standards in pursuing the enemy cavalry, they exposed their unprotected side and were wounded by the javelins thrown by nearby Numidians. By contrast, the enemy horsemen with their speed easily avoided the soldiers' throwing-spears. So Caesar sent an order through the ranks that no soldier was to move more than four feet ahead of his standard. Meanwhile, Labienus' cavalry, relying on their large numbers, were trying to surround Caesar's small force. As a result, the few Julian cavalry-worn out by the enemy's huge numbers, and their horses covered with wounds-started to give ground little by little while the enemy pursued harder and harder. So, in just a moment, all the legionnaires were surrounded by the enemy's cavalry, and Caesar's forces were driven into a ring formation. Penned up in this way, they were all forced to fight in a very confined space.
The Landmark Julius Caesar The Complete Works, African War 13.15, edited and translated by Kurt A Raaflaub, p.553. Anchor Books, New York, 2019.
In my game the Romans were hampered by rubbish cards and at one stage had three right sector cards and a mounted charge card, none of which they were able to use! The Numidians were able to wear the Romans down by shooting and Labienus' cavalry were able to finish off the job. The Romans counter attacked and destroyed some Numidian cavalry, killing their leader Petreius. The Numidians attacked on their left flank and also targeted the lone Roman light infantry bow unit. The Roman archers were able to evade and survive for a time but eventually ran out of space and were forced to retreat off the board and were destroyed as a result. It was a hard fought win for Labienus' Numidians, 5-4 victory banners.
 |
| Romans have rubbish cards! |
 |
Labienus' cavalry destroy legionary
cohorts in the centre |
 |
Labienus' cavalry destroy legionary
cohorts on the Roman left flank |
 |
Romans destroy Numidian cavalry,
killing their leader Petreius |
 |
| Numidians attack on their left flank |
 |
| Roman light bow infantry are their other target |
 |
| They evade successfully but are running out of space |
 |
Roman light bow infantry retreat of the board and are destroyed,
Numidians win a hard fought game 5-4 victory banners |


