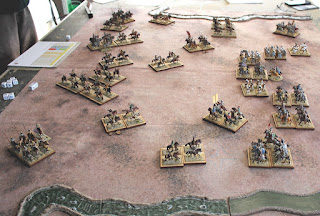
 |
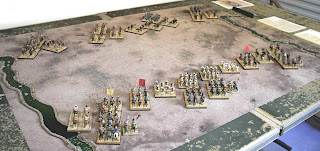
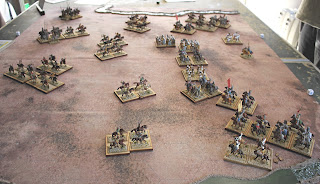
Sassanids and Parthians deployed on the plain of
Hormuz between the Bebahan and Shuster Rivers |
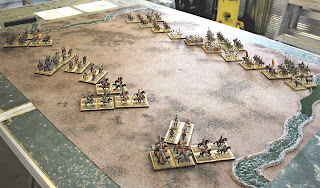 |
| View from the Parthian side |
 |
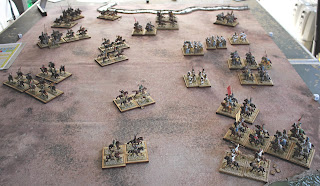
| Parthian left flank |
 |
| Parthian centre |
 |
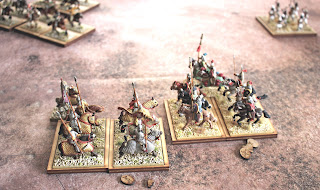
| Parthian right flank |
 |
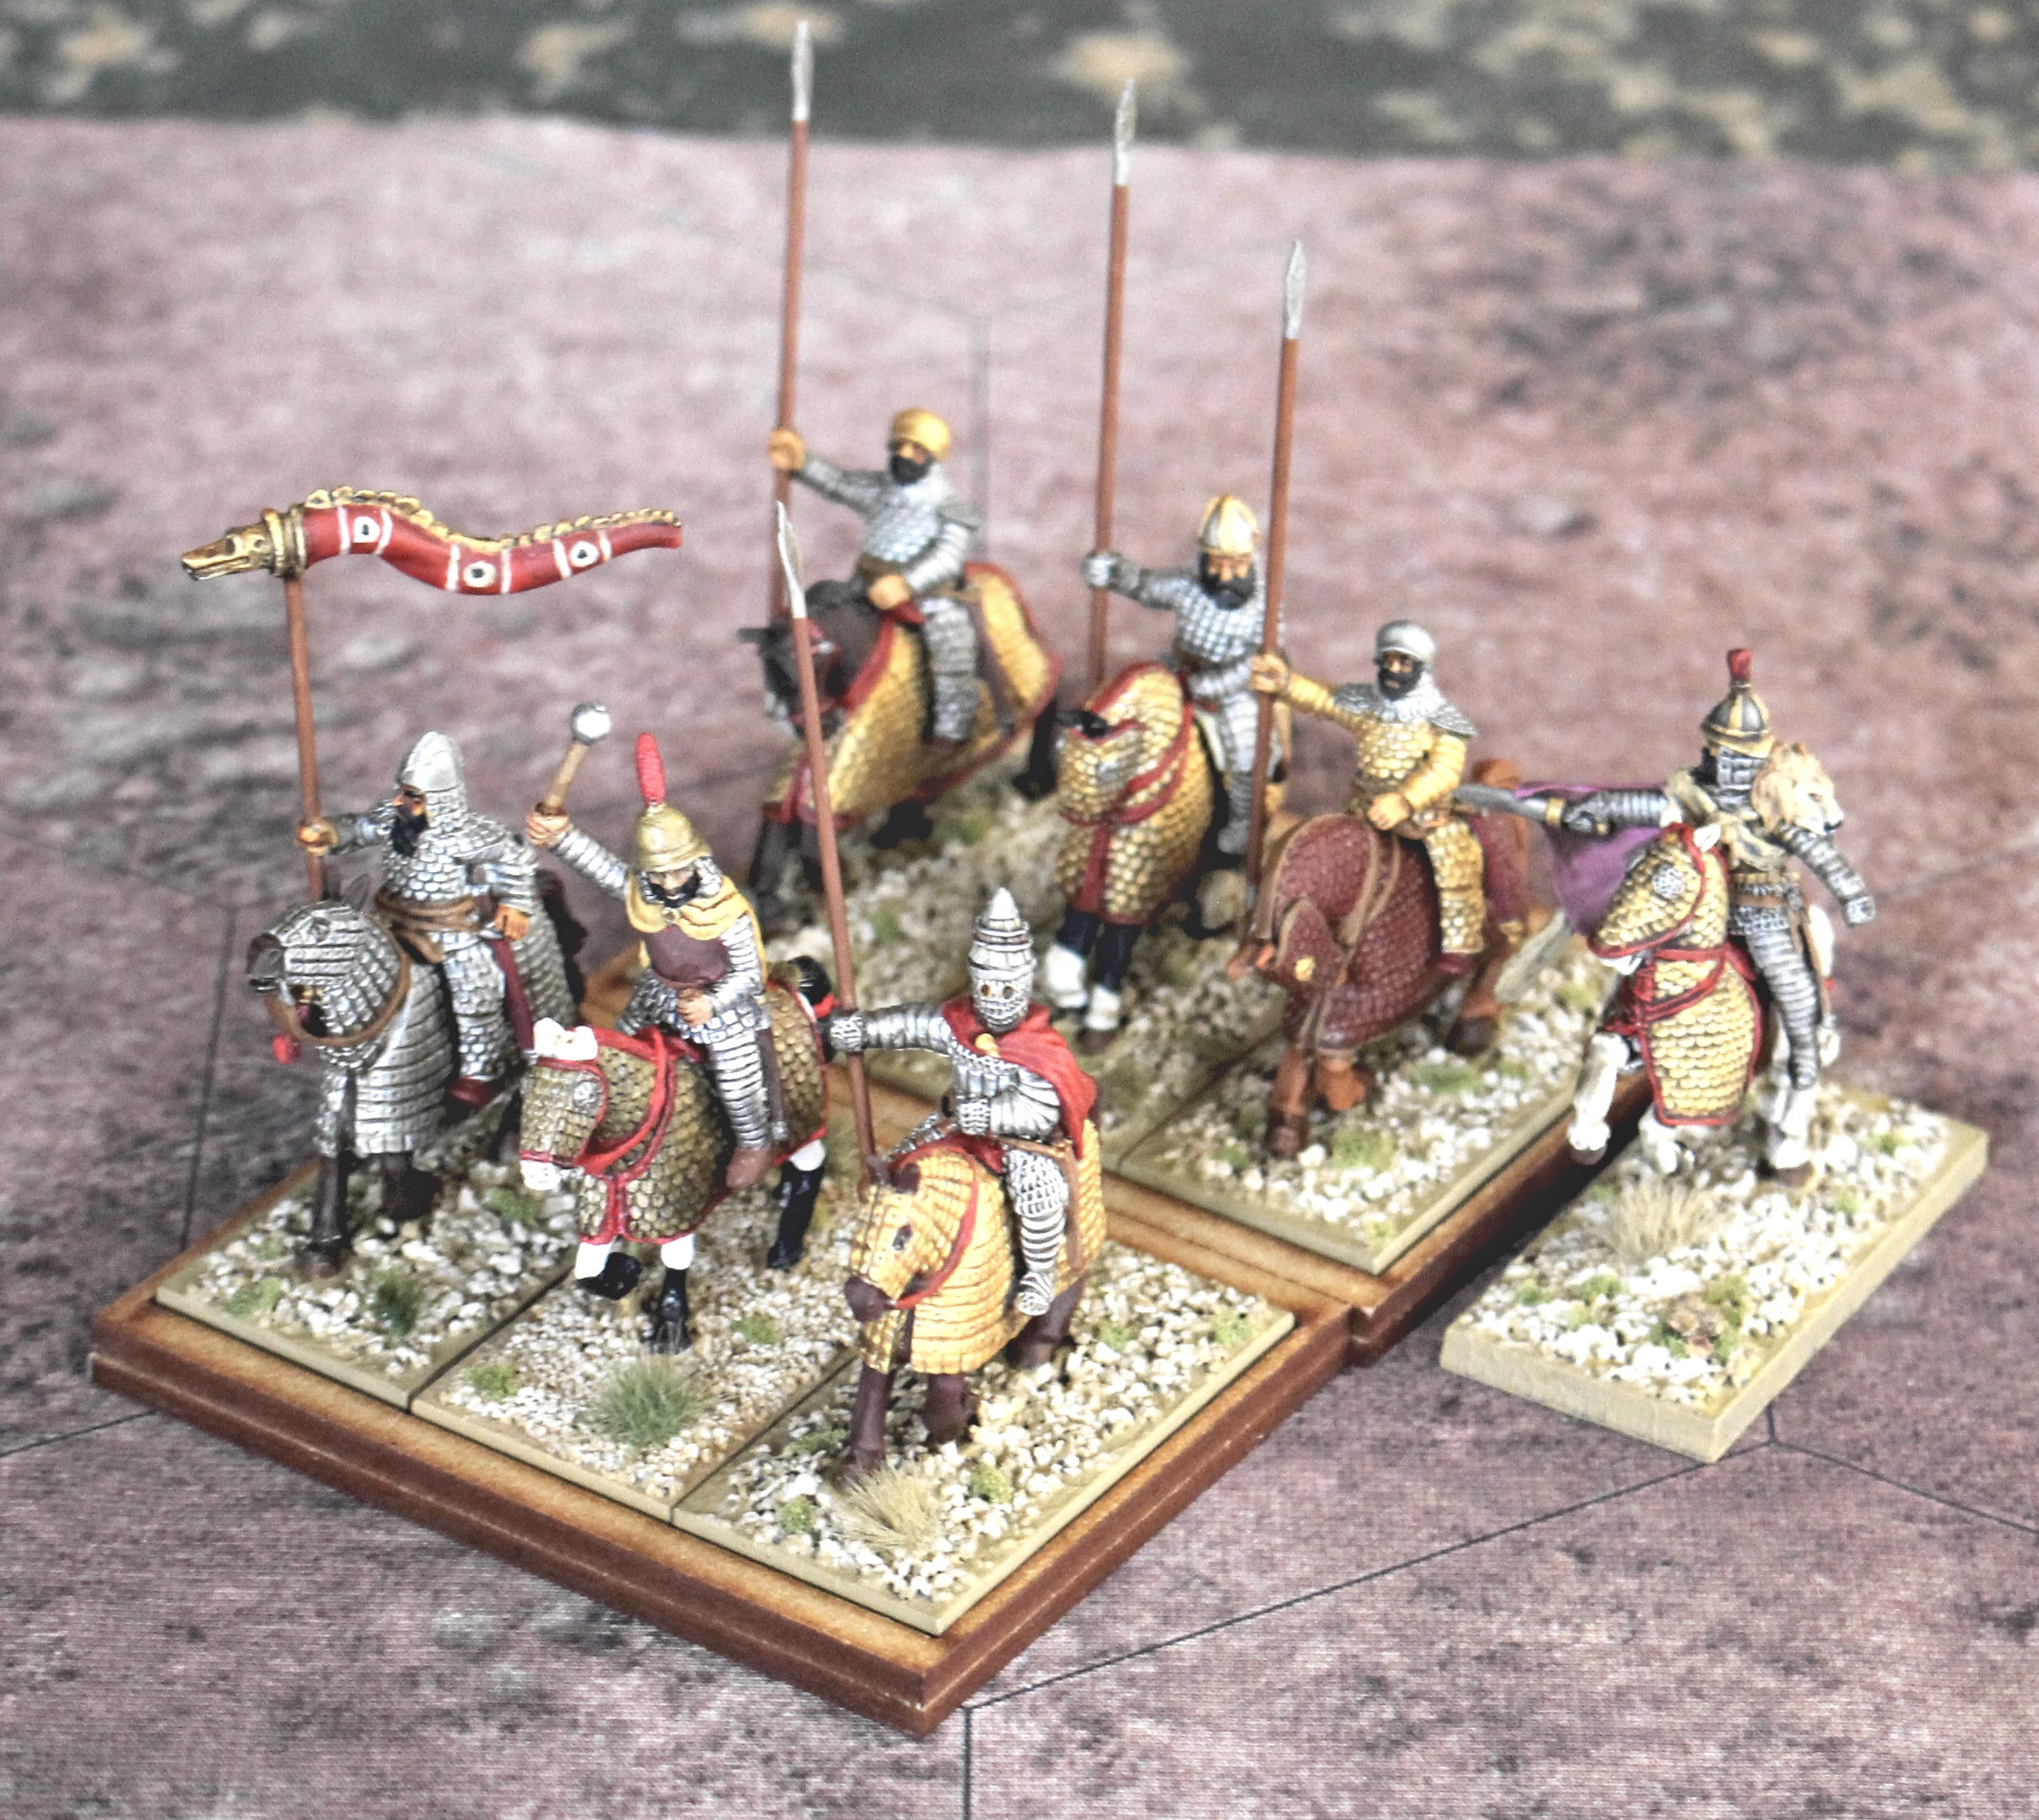
| Sassanid left flank |
 |
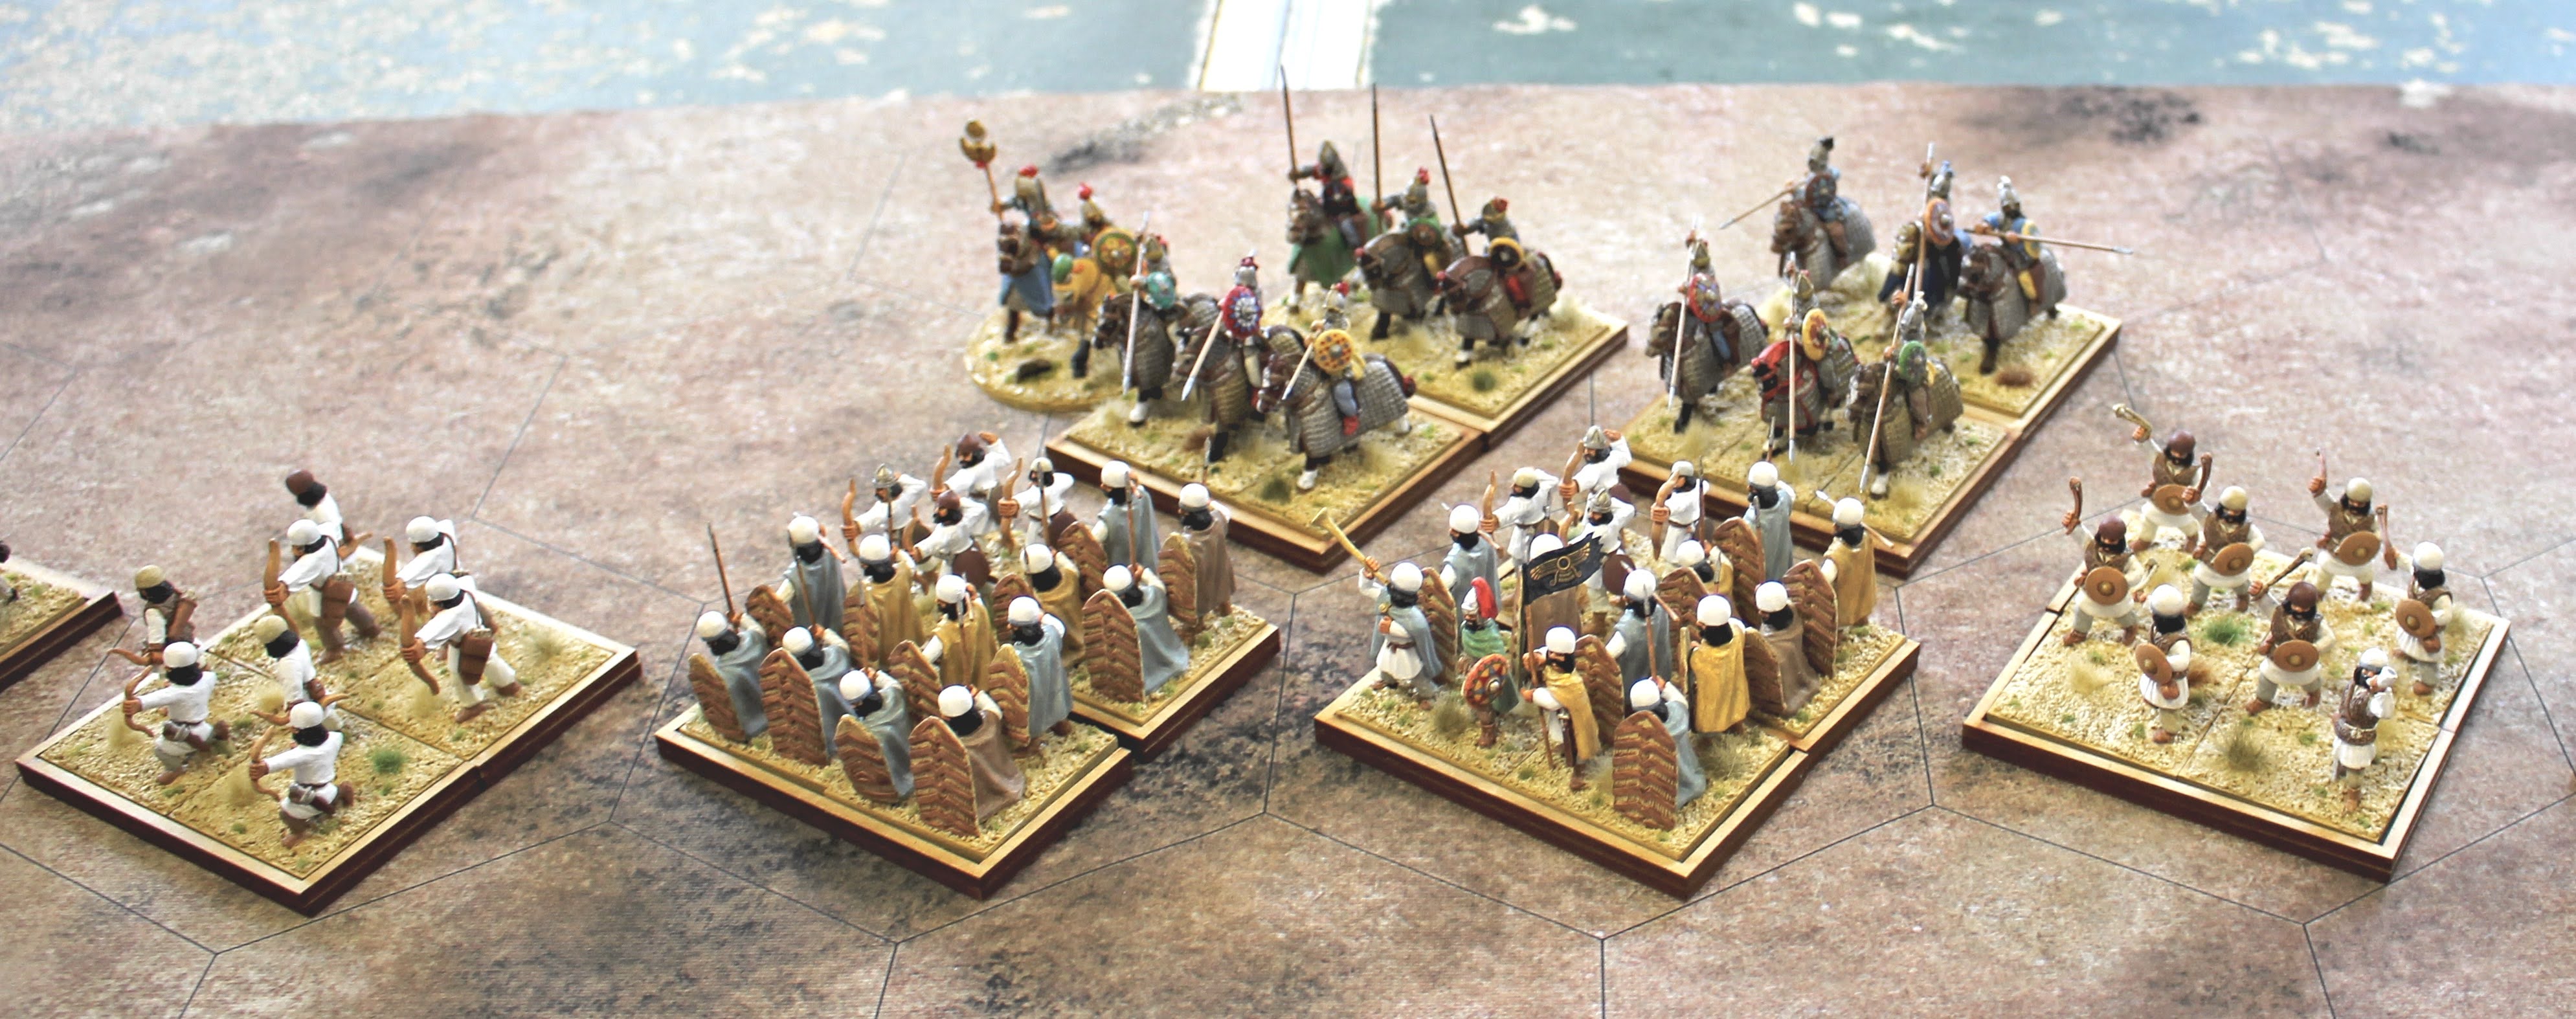
| Sassanid infantry and cataphracts in the centre |
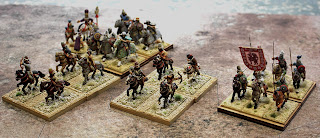 |
| Sassanid left flank |
Last Thursday afternoon Rick, Garry and Craig came over and we played a Command & Colors Medieval game (CCM) out in the shed. The scenario was the Battle of Hormuz 226 AD with the Sassanids under Ardashir I revolting against their Parthian overlords under Artabanus IV. We diced for sides, Craig and I were the Sassanids, Rick and Garry the Parthians. The Sassanids had six command cards, the Parthians only had five but moved first. Both sides started with three Inspired Action tokens.
The Parthians played a Move Fire Move card, followed by Darken the Sky. The horse archers with their Parthian shot proved to be very effective. The Parthian forced some costly Sassanid retreats to have the lead early in the game. The Sassanids returned fire and managed to claw back the Parthian advantage making the game level pegging. They then launched a make or break Mounted Charge to try and finish the game but the Parthians prevailed 7-5, killing Ardashir I in the final turn.
 |
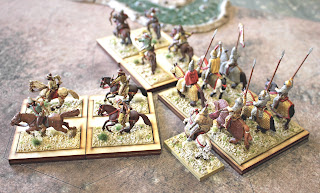
| Parthian horse archers 'Darken the Sky' |
 |
| Horse archers with their Parthian shot were very effective |
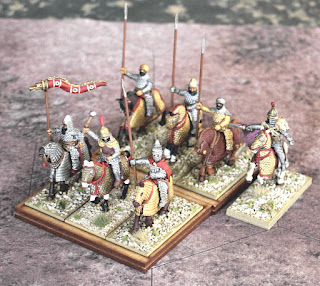 |
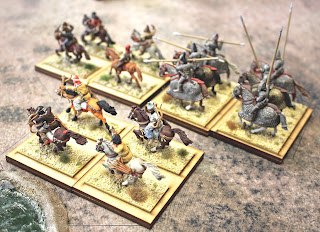
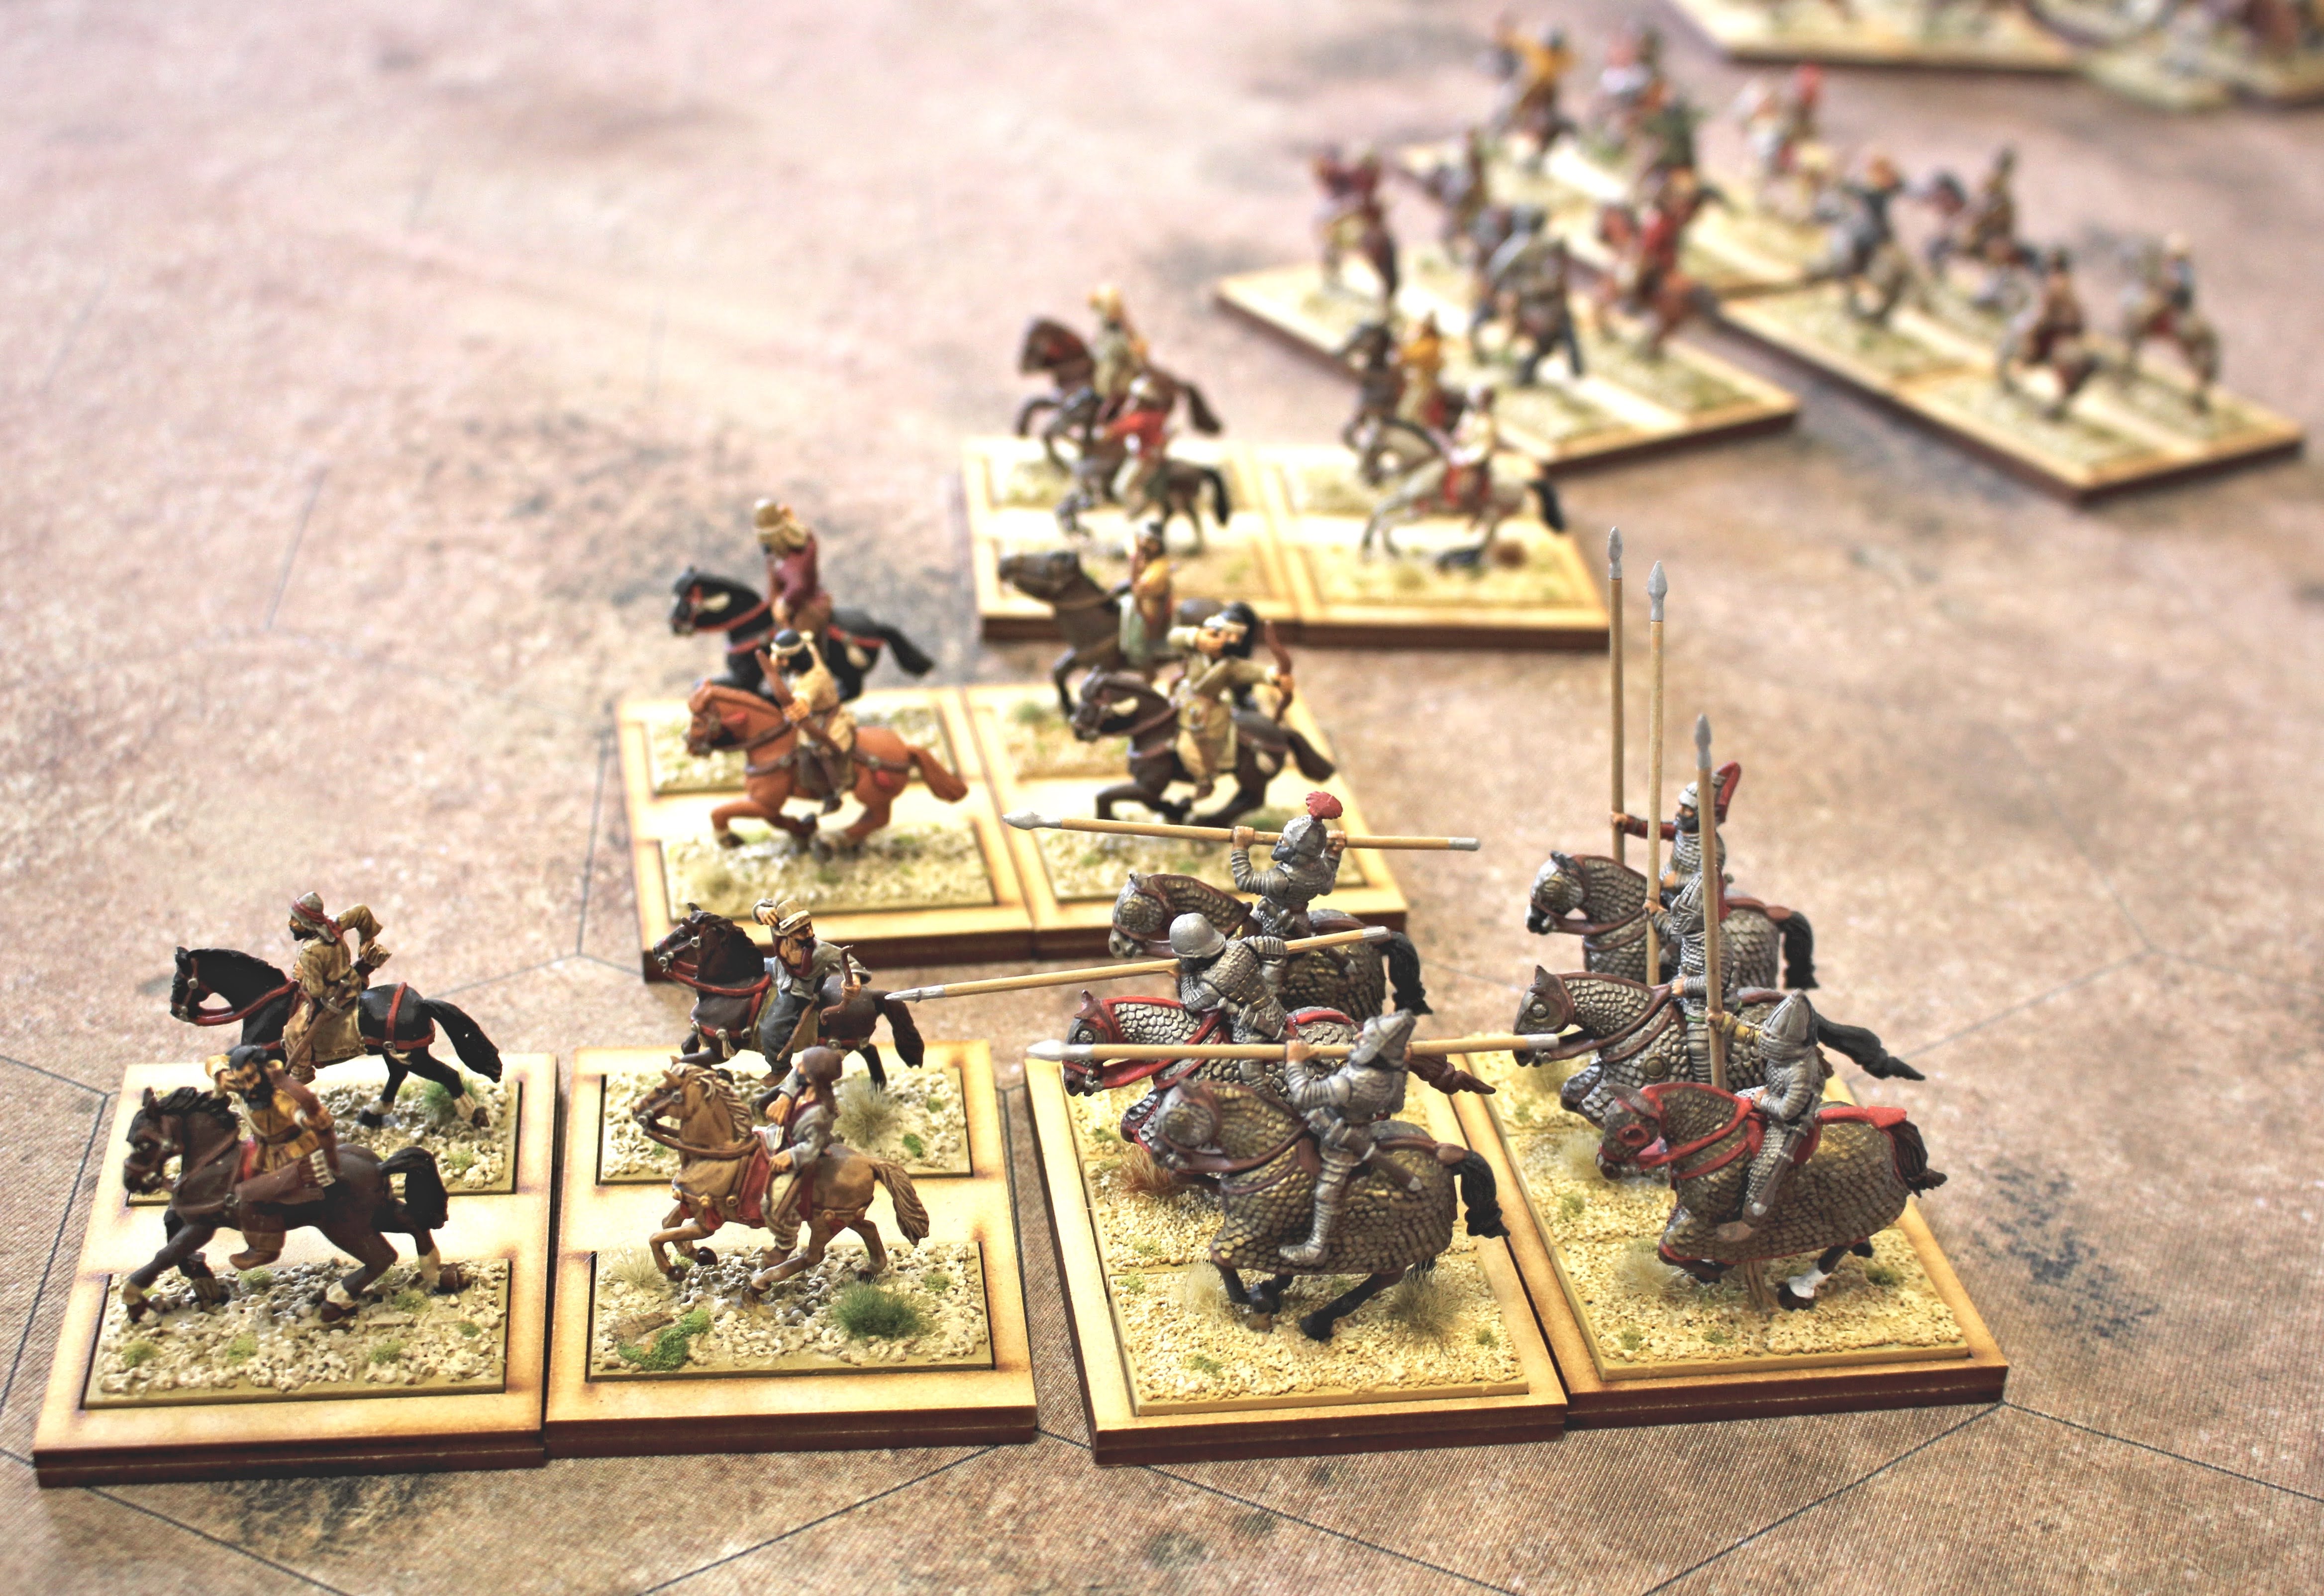
| Artabanus IV with his cataphracts |
 |
| Sassanids suffer some costly retreats |
 |
| Sassanids return fire |
 |
| Game is level pegging |
 |
| Sassanids launch a Mounted Charge |
 |
| Parthians prevail 7-5 victory banners |


This looks great, Mike! Is this a scenario from CCM?
ReplyDeleteThanks Jonathan, it is actually a CCA scenario but we used CCM as it is better with cavalry armies and Parthian shot.
DeleteExcellent looking battle!
ReplyDeleteThanks Michal, it was a close one.
DeleteSplendid looking battle!
ReplyDeleteBest Iain
Thanks Iain, it was a fun game.
DeleteI love these posts the best! Some nice looking troops on the board, and sounds like everyone had fun. I can't remember, did you use movement trays in the past or are these just different then the trays you used before? Either way they look good.
ReplyDeleteCheers
Kevin
Thanks Kevin, it was a fun, close game. Yes I usually movement trays and casualty markers, it speeds things up.
DeleteLooks a lot of fun.
ReplyDeleteThanks Ray, it was a lot of fun.
Delete